Fresh construction leaves behind more than sawdust. A proper post-construction cleaning checklist covers three distinct phases: rough clean, final clean, and touch-up clean, each targeting different debris left by different trades. Skip one phase, and you’re left with drywall dust in your vents for months.
New builds and major renovations generate fine particulate dust that settles into every crevice of a home. Left alone, that dust clogs HVAC systems, stains fresh paint, and scratches new flooring before you’ve even moved in.
I walk through what post-construction cleaning actually involves and the three-phase timeline it follows. From there, I cover room-by-room and exterior checklists, how to handle dust and specialty surfaces, and what separates a DIY weekend from hiring it out, plus cost factors and how to pick the right provider.
What Post-Construction Cleaning Actually Involves
Post-construction cleaning is a specialized deep-cleaning process that removes construction dust, debris, adhesive residue, and finishing materials left behind after a build or renovation. It goes well beyond a standard house cleaning.
Regular cleaning crews use vacuums and all-purpose sprays. Post-construction crews use HEPA filtration, specialty degreasers for adhesive residue, and tools built to handle plaster dust without just pushing it around the room.
The job covers floors, walls, ceilings, fixtures, windows, and every surface a construction crew touched. It also includes removing protective film from appliances, scraping paint overspray off glass, and vacuuming inside cabinets that sat open during the build.
Rough Clean vs. Final Clean vs. Touch-Up Clean
These three passes happen at different points and target different problems. Confusing them is the fastest way to end up with a house that still smells like sawdust on move-in day.
Rough clean happens right after major construction wraps, before trim and paint. It clears bulk debris, sweeps floors, and removes trash so finishing trades can work in a safe space.
Final clean happens after every trade is done paint, flooring, fixtures, everything installed. This is the deep, detailed pass: windows, baseboards, inside drawers, light fixtures, every surface.
Touch-up clean happens right before move-in, usually a day or two later. It catches dust that settled again after the final clean, since construction dust keeps drifting for days after work stops.
The 3-Phase Post-Construction Cleaning Timeline
Timing each phase correctly prevents rework and keeps the project moving. Cleaning too early just means doing the same work twice.
Rough clean typically happens the day framing, drywall, and major systems work finishes. Final clean happens after painting, flooring, and fixture installation, usually the last major task before final inspection.
Touch-up clean happens 24 to 72 hours before the client or homeowner walks through. That gap matters because dust particles kicked up during final trades continue settling for days.
When to Schedule Each Phase Around Your Build
I schedule rough clean the same day heavy debris removal finishes, not before. Doing it earlier just means fighting fresh dust from the next trade coming in.
Final clean gets booked once every finishing trade paint, flooring, cabinetry has signed off completely. Booking a final clean before flooring is installed wastes the entire service.
Touch-up clean sits closest to the walkthrough date on purpose. It’s the last line of defense before keys change hands.
Room-by-Room Post-Construction Cleaning Checklist
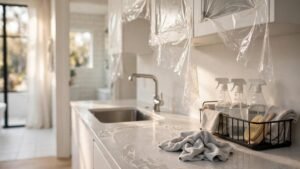
Different rooms accumulate different types of residue depending on what trades worked there. A kitchen after cabinet install looks nothing like a bedroom after drywall finishing.
Walking room by room instead of task by task catches things a generic checklist misses, like grout haze in a bathroom or paint spatter on bedroom trim.
Kitchens and Bathrooms
Kitchens need cabinet interiors wiped down, appliance protective film removed, and countertop seams cleared of adhesive residue. Grout lines in tile backsplashes often trap fine dust that a quick wipe won’t lift.
Bathrooms need extra attention on grout, caulk lines, and fixture hardware. Plumbing work leaves metal shavings and pipe dope residue around faucets and drains that needs degreasing, not just wiping.
Living Areas and Bedrooms
Living rooms and bedrooms collect drywall dust in carpet fibers, baseboards, and window tracks. Vacuuming with a HEPA filter here matters more than in any other room, since these are the spaces people spend the most time in.
Closets get overlooked constantly. Shelving installed during construction leaves sawdust in every corner that a quick walkthrough misses entirely.
Windows, Fixtures, and Hardware
Windows need interior and exterior glass cleaned, plus tracks and sills vacuumed of construction grit. Paint overspray on glass needs a razor scraper, not just glass cleaner.
Light fixtures, door hardware, and switch plates collect a fine film during construction that dulls their finish. Wiping these down restores the finished look a walkthrough client expects to see.
Exterior and Site Cleanup Checklist
Exterior cleanup gets skipped more often than any other phase, and it’s usually the first thing a buyer or resident notices. Site debris left behind undercuts an otherwise flawless interior finish.
Debris Removal, Siding, and Walkways
Site cleanup includes removing leftover lumber scraps, packaging material, and construction signage from the yard. Dumpster staging areas often leave compacted debris in the grass that needs raking out.
Siding gets a rinse to remove dust and splatter from exterior painting or stucco work. Walkways and driveways need pressure washing to clear concrete dust and tracked-in mud from the build.
Dust and Debris Removal Requirements
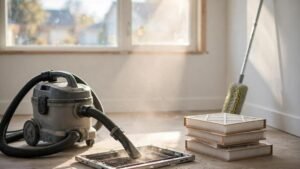
Construction dust is finer than household dust and settles into places a standard vacuum never reaches. It’s also the leading cause of callback complaints after a project wraps.
HEPA-filtered vacuums are non-negotiable for this stage. A standard vacuum just recirculates fine particulate back into the air instead of capturing it.
HVAC Vents and Air Filter Cleanup
HVAC systems pull construction dust directly into ductwork during a build, then blow it right back out once the system runs. Every vent cover needs removal and cleaning, and every air filter needs replacement before occupancy.
Skipping this step means residents breathe construction dust for weeks after move-in. It’s one of the most common oversights in a rushed final clean.
Specialty Surfaces That Need Extra Care
Some surfaces installed during construction are more fragile immediately after installation than they’ll ever be again. Treating them like standard surfaces risks permanent damage.
Flooring, Countertops, and Fresh Paint
New hardwood and tile flooring needs pH-neutral cleaners only; anything acidic or abrasive can etch the finish permanently. Grout haze on new tile needs a specialized haze remover, not a scrub brush.
Countertops, especially natural stone, need sealant-safe cleaners that won’t strip a fresh seal. Freshly painted walls need a light touch; aggressive wiping within the first few weeks can leave marks in paint that hasn’t fully cured.
Tools and Supplies Professionals Use
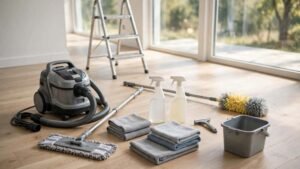
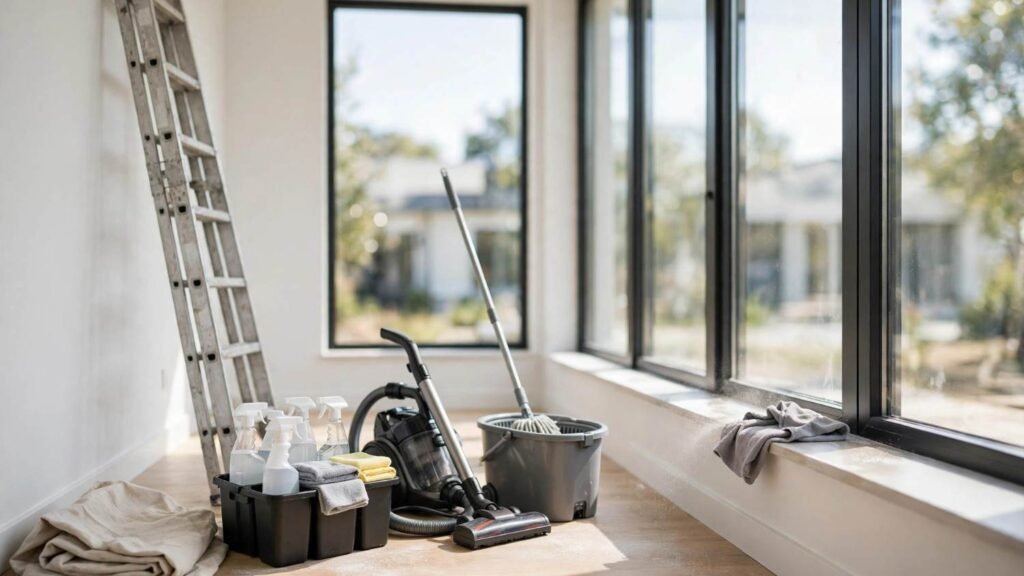
Professional crews bring equipment most homeowners don’t own and wouldn’t want to buy for a one-time job. HEPA vacuums, microfiber systems, extendable dusters, and commercial-grade degreasers make up the core kit.
Razor scrapers handle paint and adhesive on glass and tile without scratching. Extension poles with microfiber heads reach high windows and light fixtures without a ladder for every pass.
DIY Post-Construction Cleaning vs. Hiring a Pro
DIY cleaning works for small renovation projects, a single bathroom remodel, or a kitchen refresh. It doesn’t scale well for a full home build or major addition.
A full-size post-construction clean takes a professional crew of three to four people around six to eight hours. The same job stretches into multiple exhausting days for one or two people without commercial equipment.
Professional crews also carry insurance and know which cleaners are safe on which surfaces. That knowledge prevents costly mistakes on natural stone, fresh paint, and specialty flooring.
How Much Post-Construction Cleaning Costs
Post-construction cleaning typically runs $0.35 to $0.65 per square foot, according to Angi’s home services cost data. A 2,000-square-foot home lands somewhere between $700 and $1,300 for a full three-phase clean.
Smaller renovation jobs, like a single room, often carry a flat rate instead of per-square-foot pricing. That flat rate typically covers the final and touch-up phases combined.
Factors That Affect the Final Price
Square footage is the biggest driver, but it’s far from the only one. Homes with extensive tile work, multiple bathrooms, or heavy natural stone use cost more due to the specialty cleaners required.
The level of construction mess matters too. A project that ran over schedule with multiple re-do phases leaves more accumulated dust than a clean, on-time build.
Location affects pricing as well, since labor rates and disposal fees vary significantly by market.
Common Post-Construction Cleaning Mistakes to Avoid
Rushing the touch-up phase is the most common mistake I see. Dust resettles for days after a final clean, and skipping that last pass undoes a lot of the earlier work.
Using standard household cleaners on new surfaces is another frequent error. Fresh paint, sealed stone, and new hardwood all react differently to cleaners than surfaces that have cured for months.
Ignoring HVAC systems ranks high on this list too. A spotless-looking home with dust-filled ductwork just recirculates the problem for weeks after everyone’s moved on.
How to Choose a Post-Construction Cleaning Service
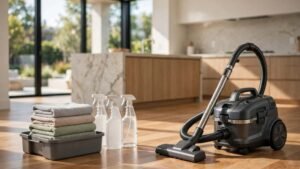
Ask about HEPA filtration specifically. Crews without HEPA-rated equipment leave fine dust behind no matter how thorough the visible cleaning looks.
Confirm the quote includes all three phases, not just a final clean. A provider quoting only one pass usually leaves touch-up work to the homeowner.
Check for insurance and experience with the specific surfaces in the home. A crew experienced with standard drywall and carpet may not know how to safely handle natural stone or engineered hardwood.
Conclusion
A thorough post-construction cleaning checklist protects the investment made in every trade that came before it. Fresh paint, new flooring, and clean ductwork only stay that way with the right three-phase approach.
Every build deserves a finish that matches the work put into it, from framing to final walkthrough. Dust and debris shouldn’t be the last thing anyone notices.
We help homeowners and property managers connect with skilled post-construction cleaning professionals who get every phase right. Reach out to Mr. Local Services to schedule a crew that treats the final step with the same care as the first.
Frequently Asked Questions
How long does post-construction cleaning take?
A full-size home typically takes six to eight hours for a professional crew of three to four people. Smaller renovation projects can take two to four hours depending on scope.
Is post-construction cleaning different from regular cleaning?
Yes, it uses HEPA filtration, specialty degreasers, and techniques built for construction dust and adhesive residue. Standard cleaning tools aren’t equipped to handle fine particulate at that scale.
When should I schedule the final clean?
Schedule it after every finishing trade paint, flooring, and fixtures has completely finished their work. Booking it earlier means redoing the job once the last trade wraps.
Can I do post-construction cleaning myself?
Small projects like a single room are manageable as a DIY job with the right supplies. Full home builds usually need professional equipment and a multi-person crew to finish efficiently.
Why does dust keep coming back after cleaning?
Construction dust is extremely fine and continues settling for days after major work stops. That’s exactly why the touch-up clean phase exists, scheduled close to move-in.
What does post-construction cleaning cost on average?
Most projects run $0.35 to $0.65 per square foot, based on Angi’s cost data. A typical 2,000-square-foot home falls between $700 and $1,300.
Do I need to clean HVAC vents after construction?
Yes, HVAC systems pull dust into ductwork throughout the build and recirculate it once running. Every vent cover and filter needs cleaning or replacement before move-in.
What’s the difference between rough clean and final clean?
Rough clean happens right after major construction to clear bulk debris before finishing trades start. Final clean happens after every trade is complete and covers every detailed surface in the home.